

Choosing the right printhead
A replacement head needs to match more than the carriage bolt pattern. Ink chemistry, electronics, meniscus control and the kind of work you run each day all affect whether a head will fire cleanly and last properly.
Start with the printer platform, not the old part number
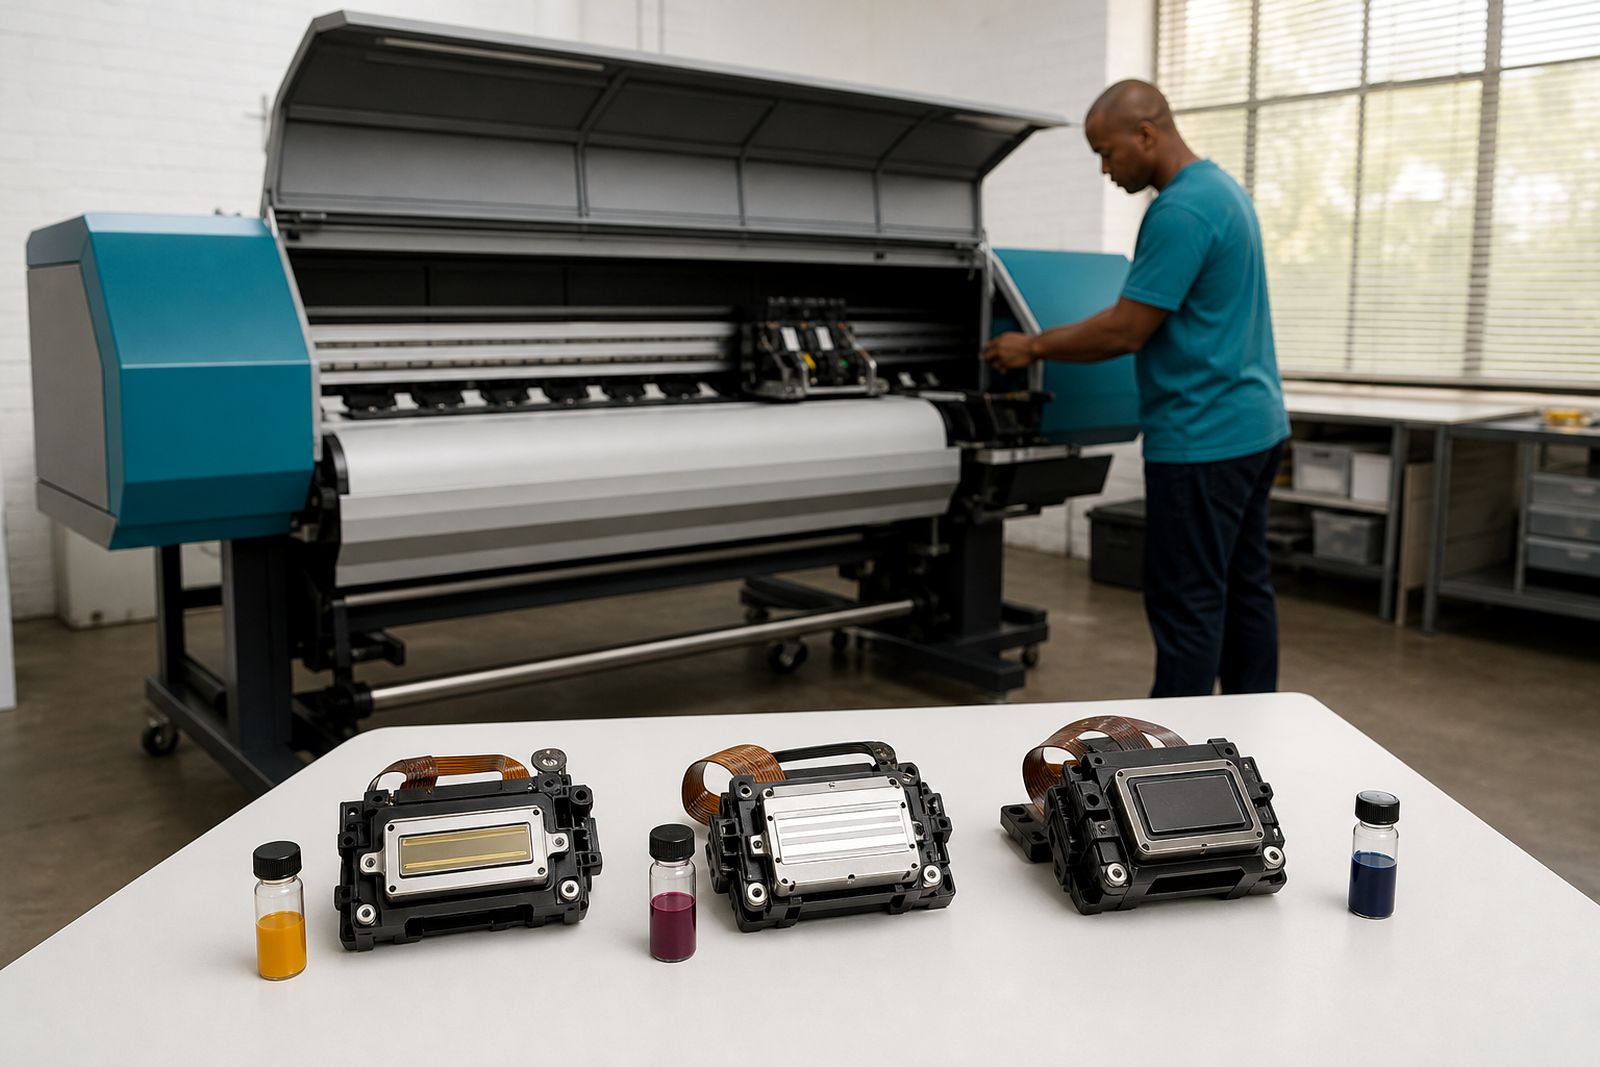
The first step is to identify the printer platform and the way the head is driven inside that machine. Two heads can look similar in shape yet differ in voltage range, firing method, connector layout or ink path. Swapping on appearance alone often leads to poor jetting, head errors or damage to the board. When a pritner has had previous modifications, the safest route is to check the carriage, cables and board arrangement rather than rely only on a label from the removed unit.
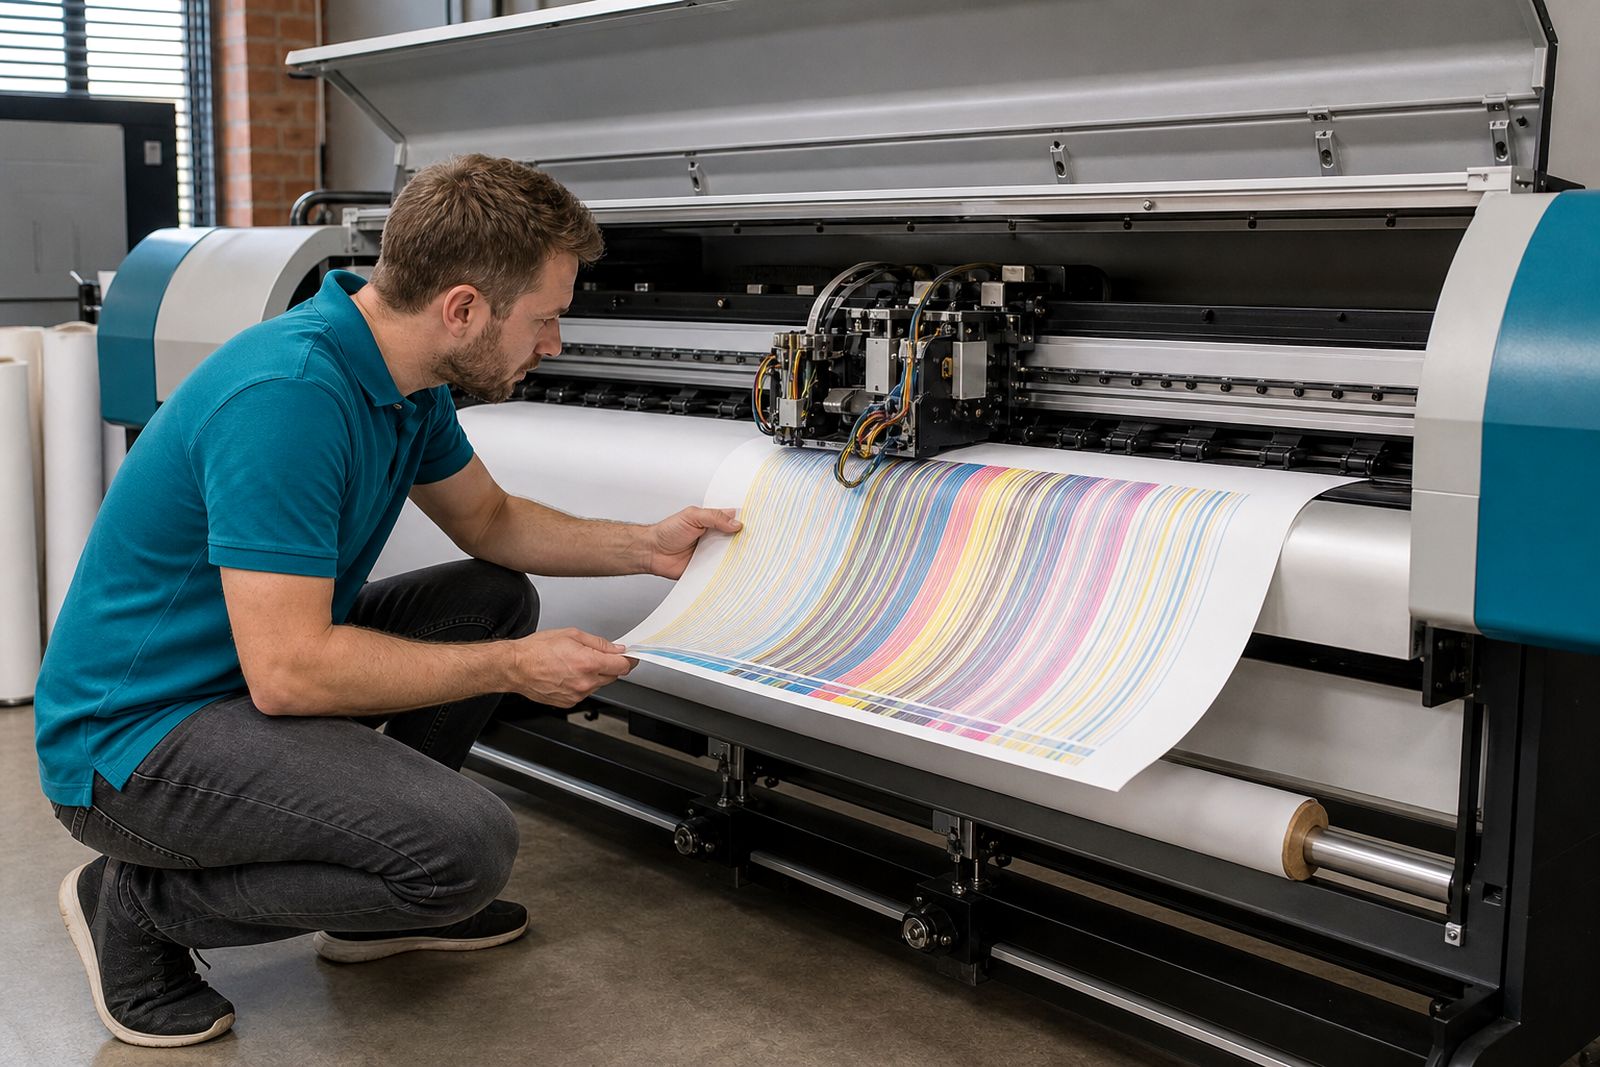
On wide-format machines used for signage and artwork, the carriage assembly matters just as much as the head itself. Some setups use paired heads, some stagger them, and some require specific alignment offsets in the control software after fitting. If you are replacing one failed head in an older bank, also consider the condition of the neighbouring heads because imbalance across the carriage can show up as banding and uneven colour laydown.
- Confirm the printer make-up, including carriage type and head mounting format.
- Check whether the machine runs one head, multiple heads or mirrored pairs.
- Inspect ribbon cables, connectors and head board condition before ordering.
- Note any previous conversions, firmware changes or electronic repairs.
Match the head to the ink chemistry in use
Ink compatibility is where many expensive mistakes begin. Solvent, eco-solvent, UV and water-based systems place very different demands on the nozzle plate, seals, internal channels and capping routine. A head that performs well on one chemistry may have a short life or unstable firing on another. The right choice depends on the actual ink set in the machine now, not what the printer left the factory with.
UV systems need special attention because cured residue at the face of the head can build quickly if the capping and wiping side is weak. Solvent and eco-solvent setups rely heavily on stable meniscus and proper dampers. Water-based printing often needs clean filtration and careful storage because dried pigment or coating can choke the nozzle train long before a full failure appears. If you are changing from one chemistry family to another, flushing procedure and line materials must be checked first.
- State the ink family clearly: solvent, eco-solvent, UV or water-based.
- Tell us whether the ink is dye, pigment or speciality coating.
- Check damper material, cap top condition and cleaning fluid suitability.
- Do not mix old residue with a new chemistry unless the system is fully flushed.
Look at the work you print every week
The best head for a decal line is not always the best head for canvas artwork or heavy coverage banners. Media type, drying behaviour, pass count and daily running hours all influence head selection. A busy sign room pushing vinyl and banner stock needs stability under long runs and repeat cleaning cycles. A studio producing colour-sensitive artwork may place more value on fine droplet control and consistent nozzle health over long idle periods.
Think about whether the machine sits for stretches between jobs or runs all day. Idle time can be hard on heads if capping is poor, while constant production can expose weak dampers, unstable pressure and heat build-up on the carriage. It helps to describe the real workload rather than only the printer name. That picture usually narrows the options much faster.
- List your usual media, such as self-adhesive vinyl, banner, paper or film.
- Say whether production is intermittent or full-shift output.
- Note if quality issues show on solids, gradients, small text or fine linework.
- Include whether the machine is in an air-conditioned room or a hotter shop floor.
Check the support parts around the head
A new head fitted into a neglected ink train often fails early for reasons that are not the head's fault. Dirty caps, hardened wipers, swollen dampers, weak pumps and air leaks can all produce missing nozzles and unstable firing. In coastal humidity and warm inland workshops alike, old maintenance parts tend to mask the root cause until the replacement goes in and starts showing the same faults. That is why support parts deserve attention before the head is bolted down.
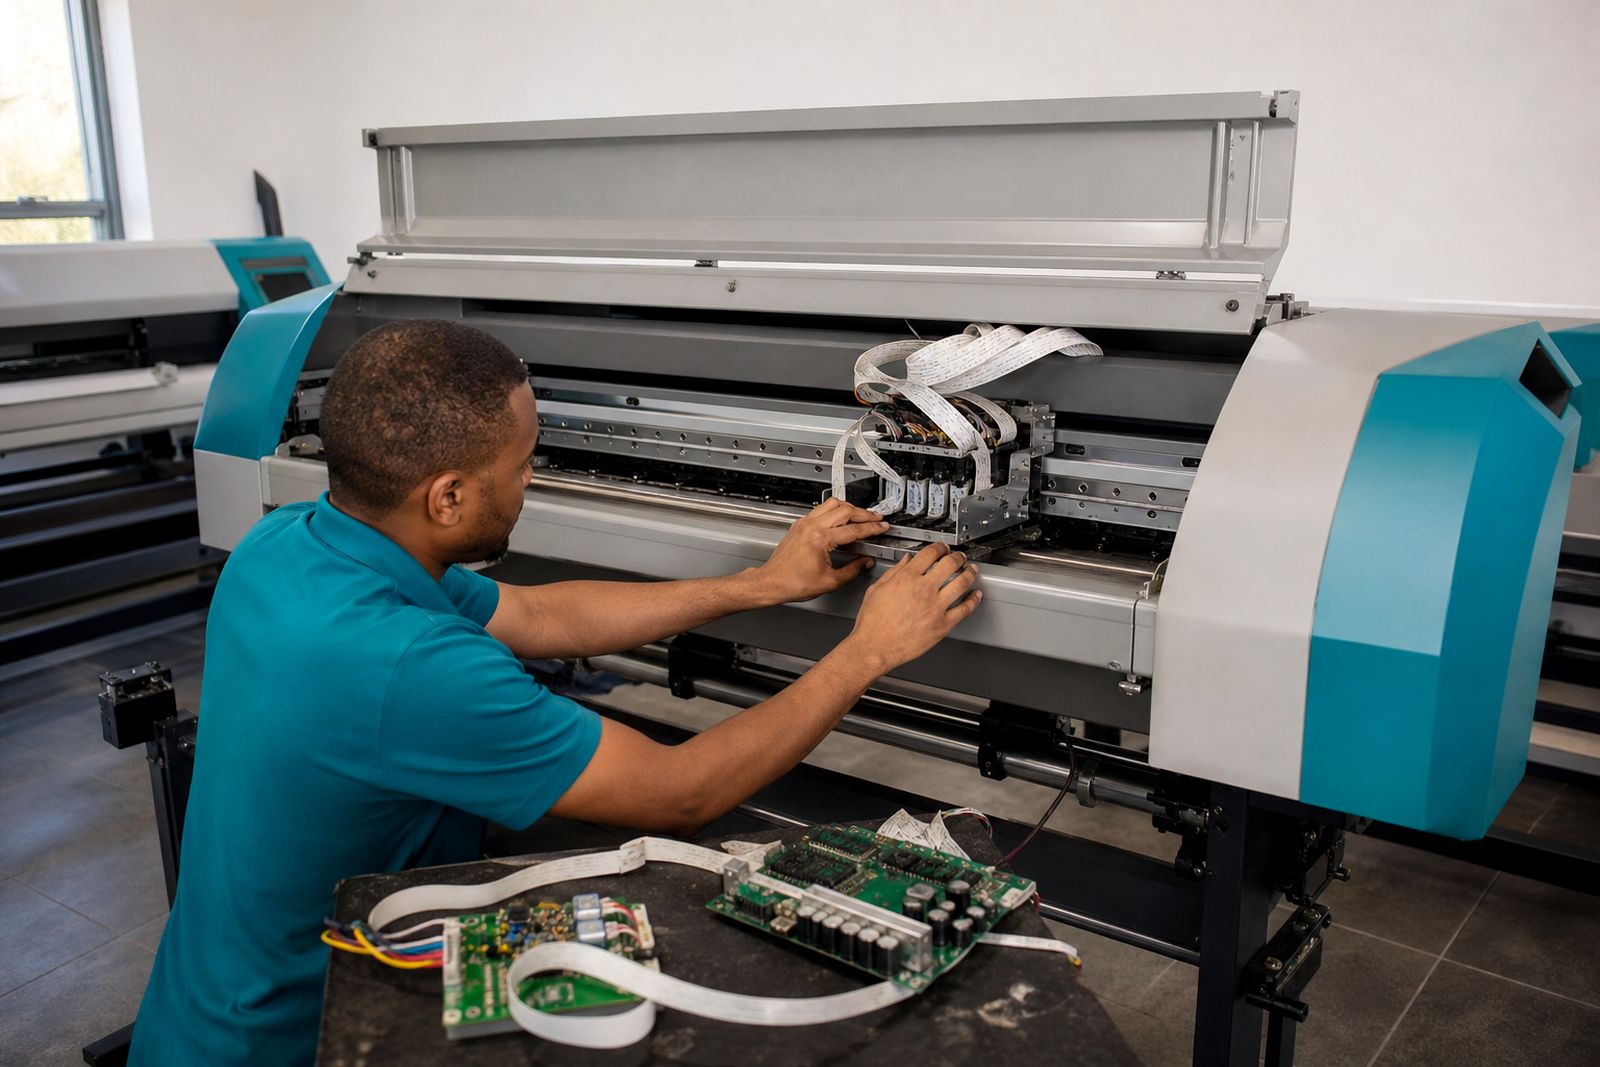
Electronics should be checked as well. A damaged head board, contaminated ribbon cable or poor earthing path can take out a fresh head very quickly. If there has been an ink strike, carriage crash or liquid spill, the repair should include a proper board and cable inspection. Saving money on the surrounding parts often costs more later.
- Inspect capping stations, wipers and dampers for wear or contamination.
- Check pumps and lines for vacuum consistency and air ingress.
- Examine head boards and cables for corrosion, bent pins or ink residue.
- Confirm carriage alignment and strike clearance before first firing.
Storage, flushing and handling affect the result
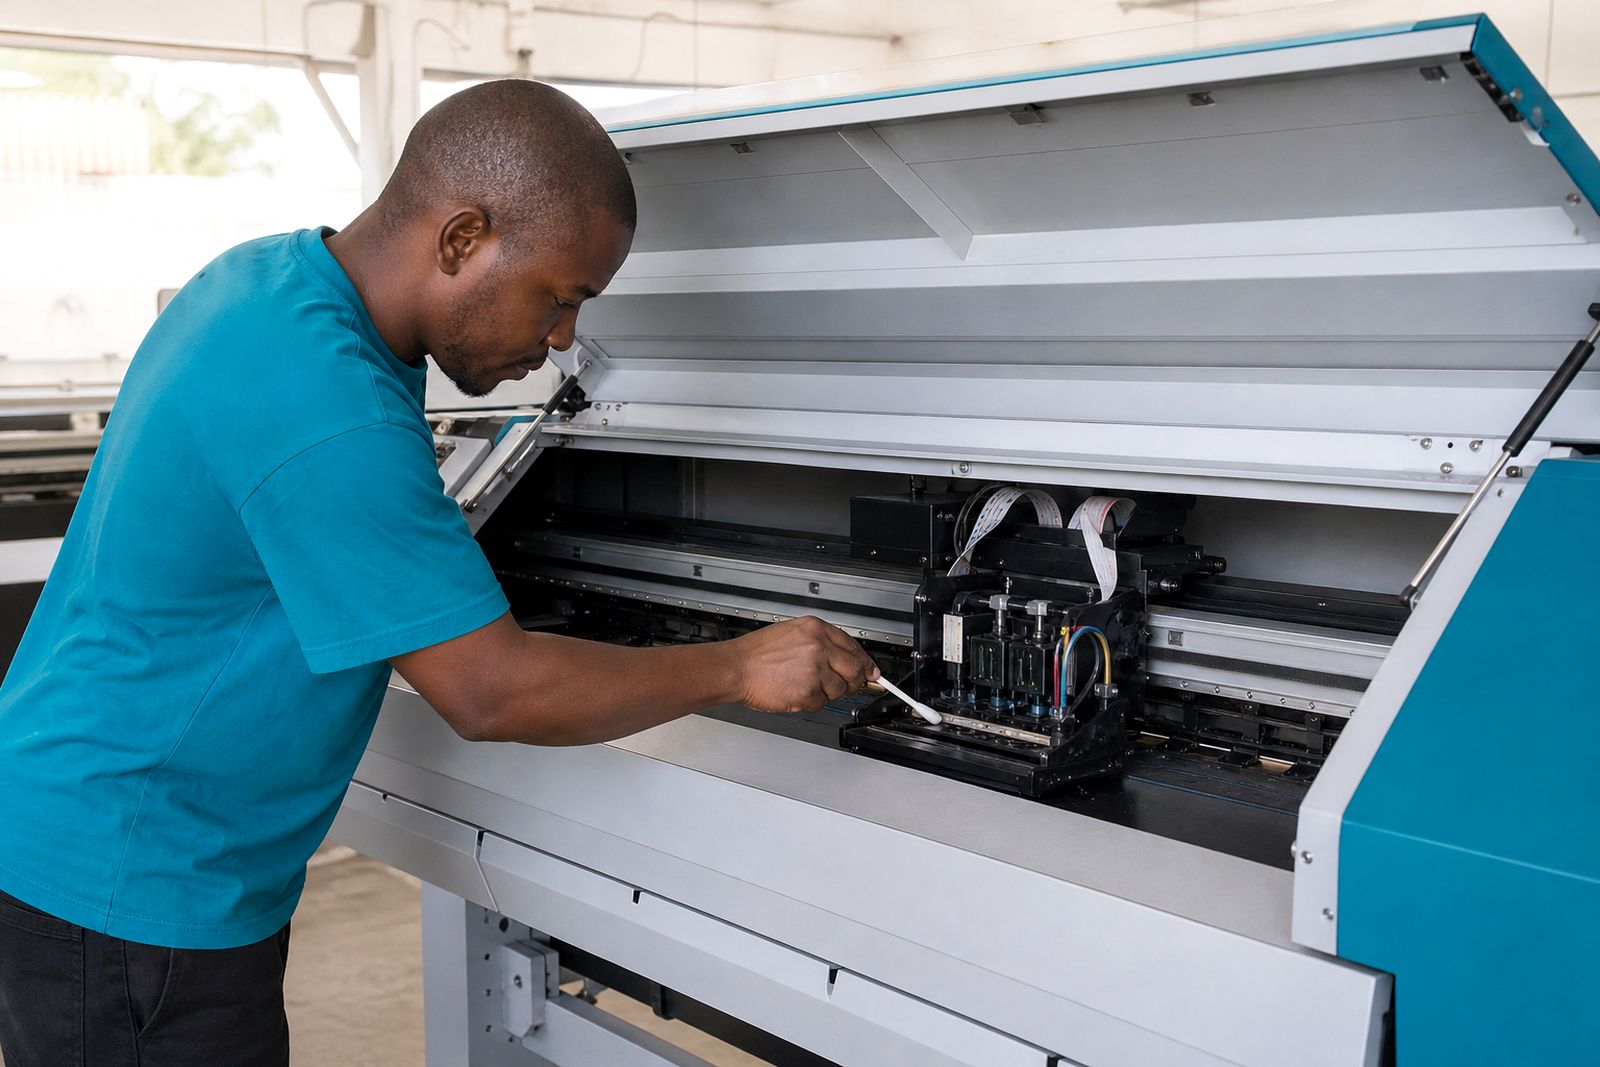
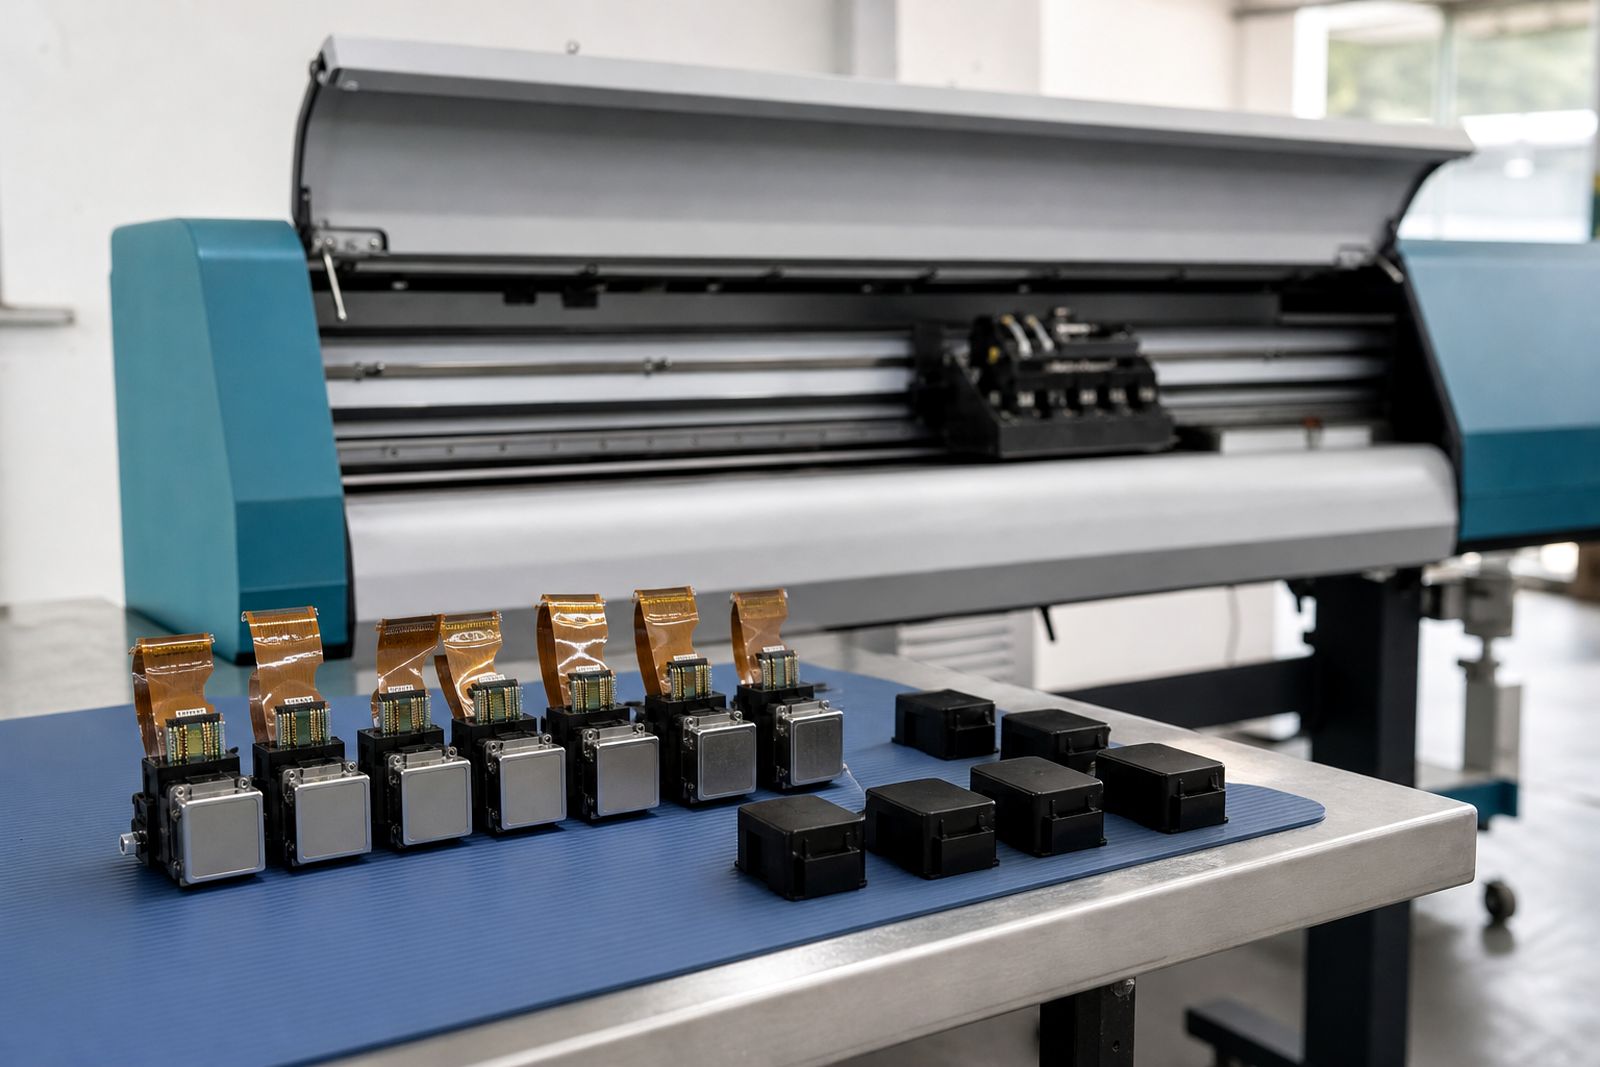
Even the correct head can be ruined by poor handling on the bench. Heads should stay sealed until fitting, be kept clean and level, and never be left exposed where dust or workshop overspray can settle on the nozzle face. If the printer has been standing with dried ink in the system, a controlled flush is normally safer than forcing a head to recover through repeated harsh cleans. Excessive cleaning cycles can waste fluid and still leave the underlying blockage in place.
When a machine arrives from another site or has stood through a long shutdown, storage history matters. Temperature swings, dried caps and partly emptied dampers all change the first start procedure. We help customers work through flushing, priming and care points so the new head is not asked to solve an old ink-path problem on its own.
After installation, alignment and nozzle checks should be done methodically rather than by guesswork. A careful setup tends to show very early whether the issue is in the head, the ink supply or the drive side.
Details that help us match the right head
When you send an enquiry, include enough information for us to compare the head, electronics and ink path properly. Clear photos of the existing assembly often help more than a brief part description, especially where a machine has been altered or repaired before. If the symptoms changed after a board swap, line flush or carriage strike say so, because that history can point away from the head itself.
You can send the details through our contact form and we will use them to narrow the options sensibly. For workshops fitting heads in-house, we can also guide you on the surrounding parts that are worth replacing at the same time.
- Printer type and application, such as signs, banners, vinyl or artwork.
- Ink chemistry and any recent ink change or flush work.
- Photos of the head, carriage, cables and the nozzle test if available.
- A short note on the fault, including banding, drop-out, deflection or head error messages.
- Whether you need only the head, or also boards, dampers, caps or fitting support.
What our Printhead customers say
Verified Google reviews
Questions we get asked
Can I fit a different head if it looks the same as the old one?
Not safely on looks alone. The firing method, voltage requirements, connector format and ink compatibility must all match the printer platform and the electronics driving it.
Do I need to replace capping or damper parts when changing a head?
Often yes, especially where the old head failed after unstable ink supply, poor capping or repeated cleaning issues. Fresh service parts can protect the new head from the same problem.
Do you help with fitting and nozzle recovery?
Yes. We assist with head fitting, alignment, nozzle-health checks, flushing guidance and care advice for wide-format machines used in signage and artwork.
Also worth a look
Tell us about the job
Send sizes, materials and where you are through our contact form, and we will come back with the practical options.
Open the contact form