

Engines for printer builders
Building a print system is rarely about one part in isolation. The head, carriage movement, ink path, electronics and maintenance station all need to agree with one another before stable production is possible.
Start with the ink set, not the frame
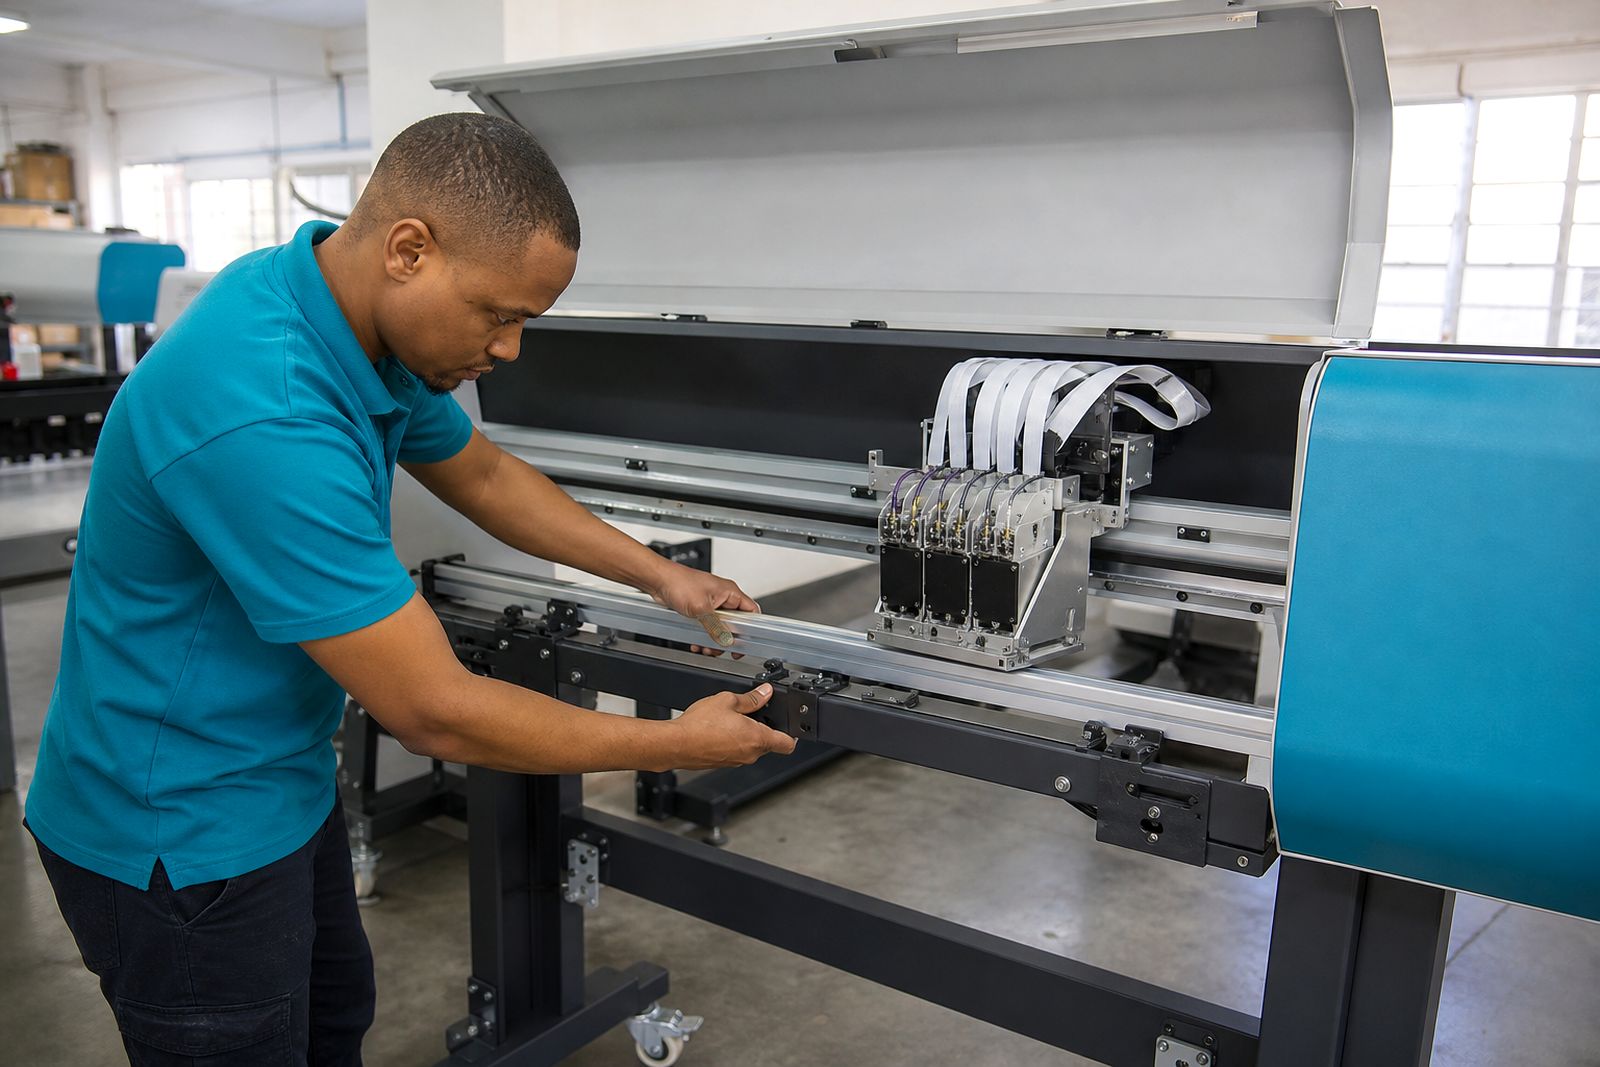
When a builder plans a new print platform or reworks an older chassis, the useful starting point is the ink chemistry and the work the machine must carry. Solvent, eco-solvent, UV and water-based systems place different demands on the head face, capping arrangement, tubing, filters and purge routine. A frame can be adapted, but the wrong head and ink pairing creates expensive drift in nozzle health, weak drop placement and repeated cleaning cycles.
For builders in South Africa, application matters just as much as chemistry. A unit aimed at banner and vinyl output for sign shops needs a different balance from a flatbed adaptation handling coated board or short-run artwork. The media width, cure method and expected daily use all affect which engine layout makes sense, and a rushed match can leave the operator fighting the machine every morning.
- Match the head material compatibility to the intended ink family.
- Check whether the carriage speed and mass suit the chosen head arrangement.
- Plan the maintenance station around real cleaning duty, not just available space.
- Confirm that the control electronics can drive the head correctly under production load.
What a complete engine assembly solves
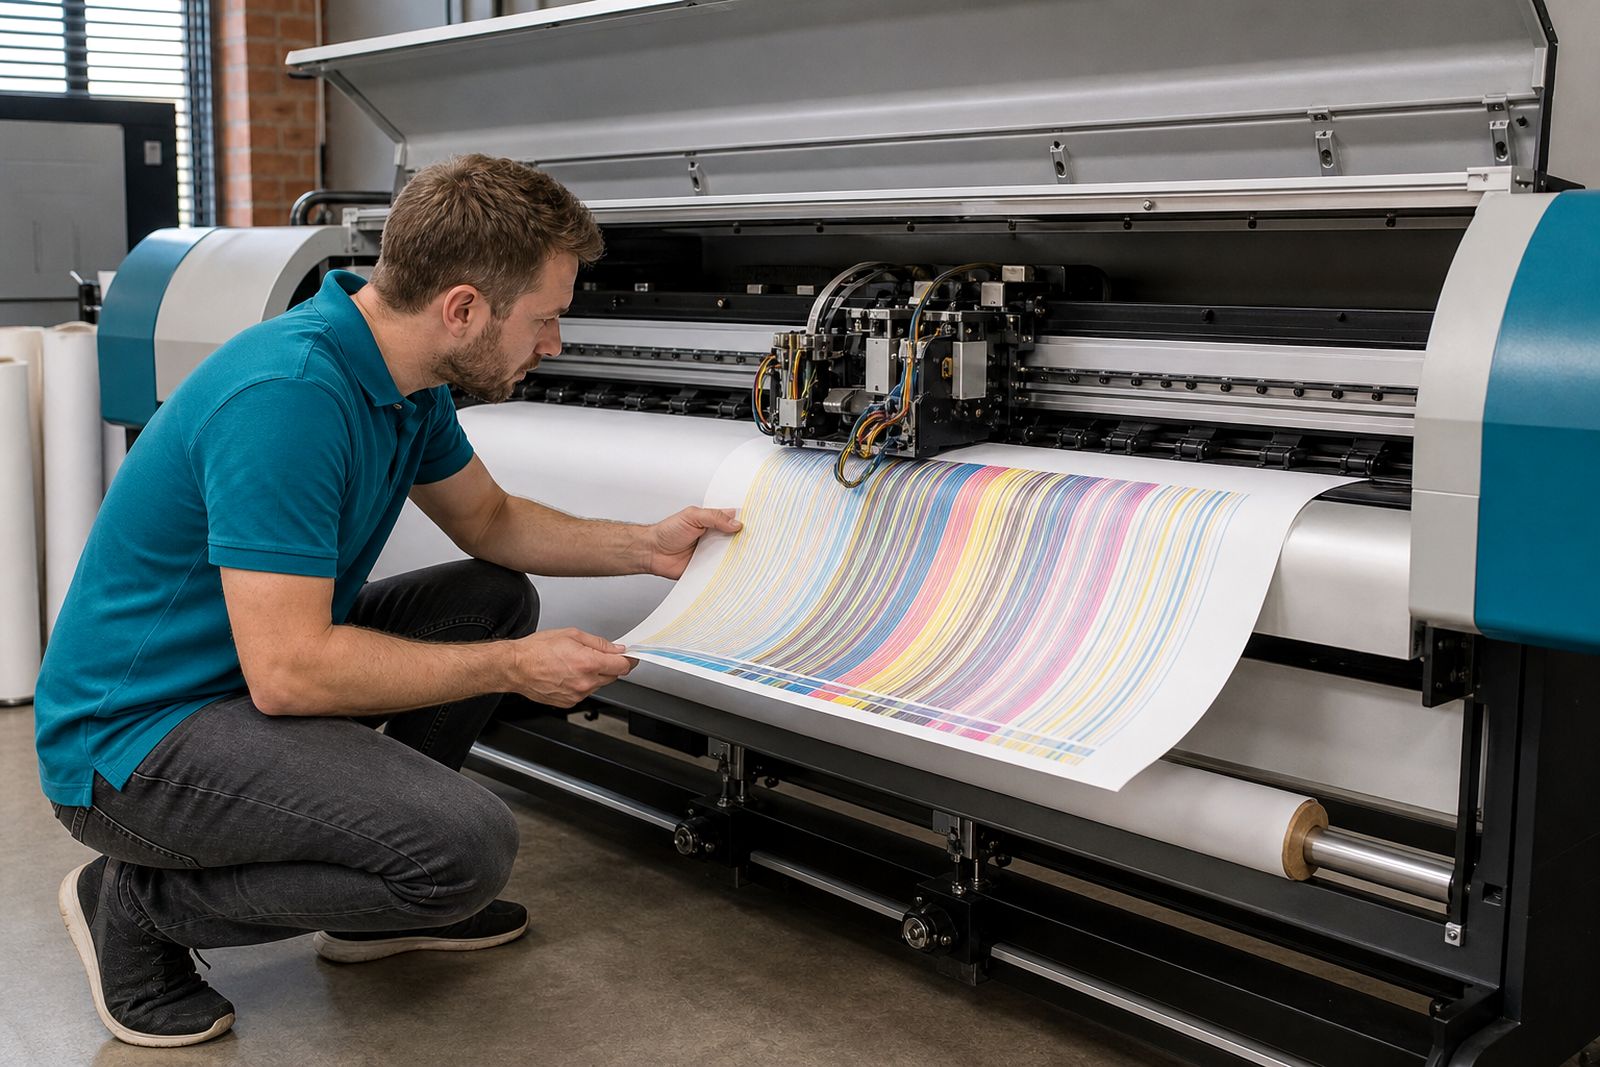
A complete inkjet print engine can shorten the path from concept to stable output because the head, carriage and drive electronics are already grouped as one working assembly. That does not remove the need for integration work, but it reduces the amount of custom mechanical and electrical troubleshooting on the bench. Builders often use this route when an older printer frame is being rebuilt for a different ink set, or when a compact industrial unit needs a proven print module fitted into a custom body.
In practice, the value is consistency. When the carriage geometry, cable management and head mounting points have already been worked through, alignment becomes more predictable and service access is better. That matters in smaller workshops where one technician may be handling wiring, fluid lines and calibration on the same day.
We also help builders decide when a full engine is the sensible option and when separate parts are enough. In some rebuilds the existing carriage remains sound and only the head board, printhead and service station parts need replacement. In others, trying to keep too many old assemblies costs more in downtime and repeat fitting.
Boards, capping parts and the items that usually get missed
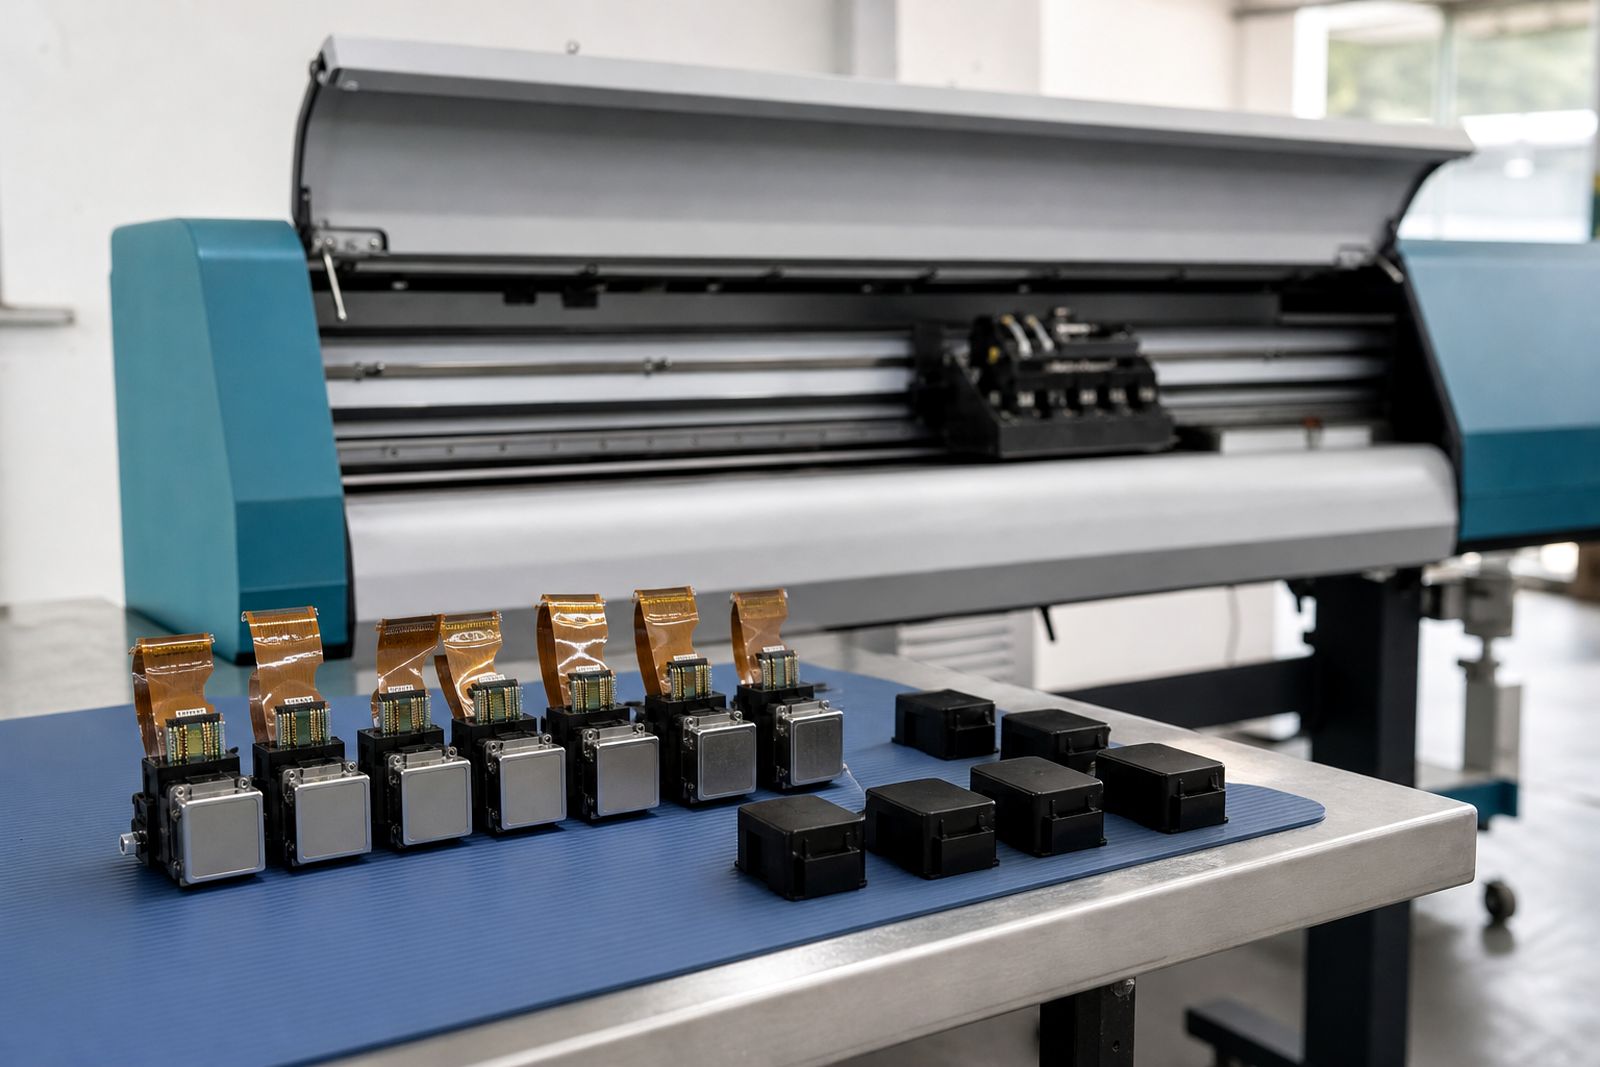
Rebuild projects often focus on the printhead first, then lose time on the support parts that make the head usable. A healthy head can still perform badly if the capping seal is poor, the damper choice is wrong or the head board is unstable. These pieces are less visible than the carriage, yet they decide whether priming works properly and whether the head stays protected between shifts.
On site, the common pattern is familiar: a machine arrives after a head change done in a hurry, test output looks uneven, and the real cause turns out to be old capping rubbers, contaminated dampers or a board issue rather than the head itself. That is why we look at the full service path rather than one component alone.
- Head boards must suit the electrical requirements of the chosen head and control system.
- Capping stations need an even seal across the parking position.
- Dampers should be matched to ink type and flow behaviour.
- Wipers and flushing parts must be clean enough not to re-contaminate the nozzle plate.
A Randburg workshop example from a rebuild bench
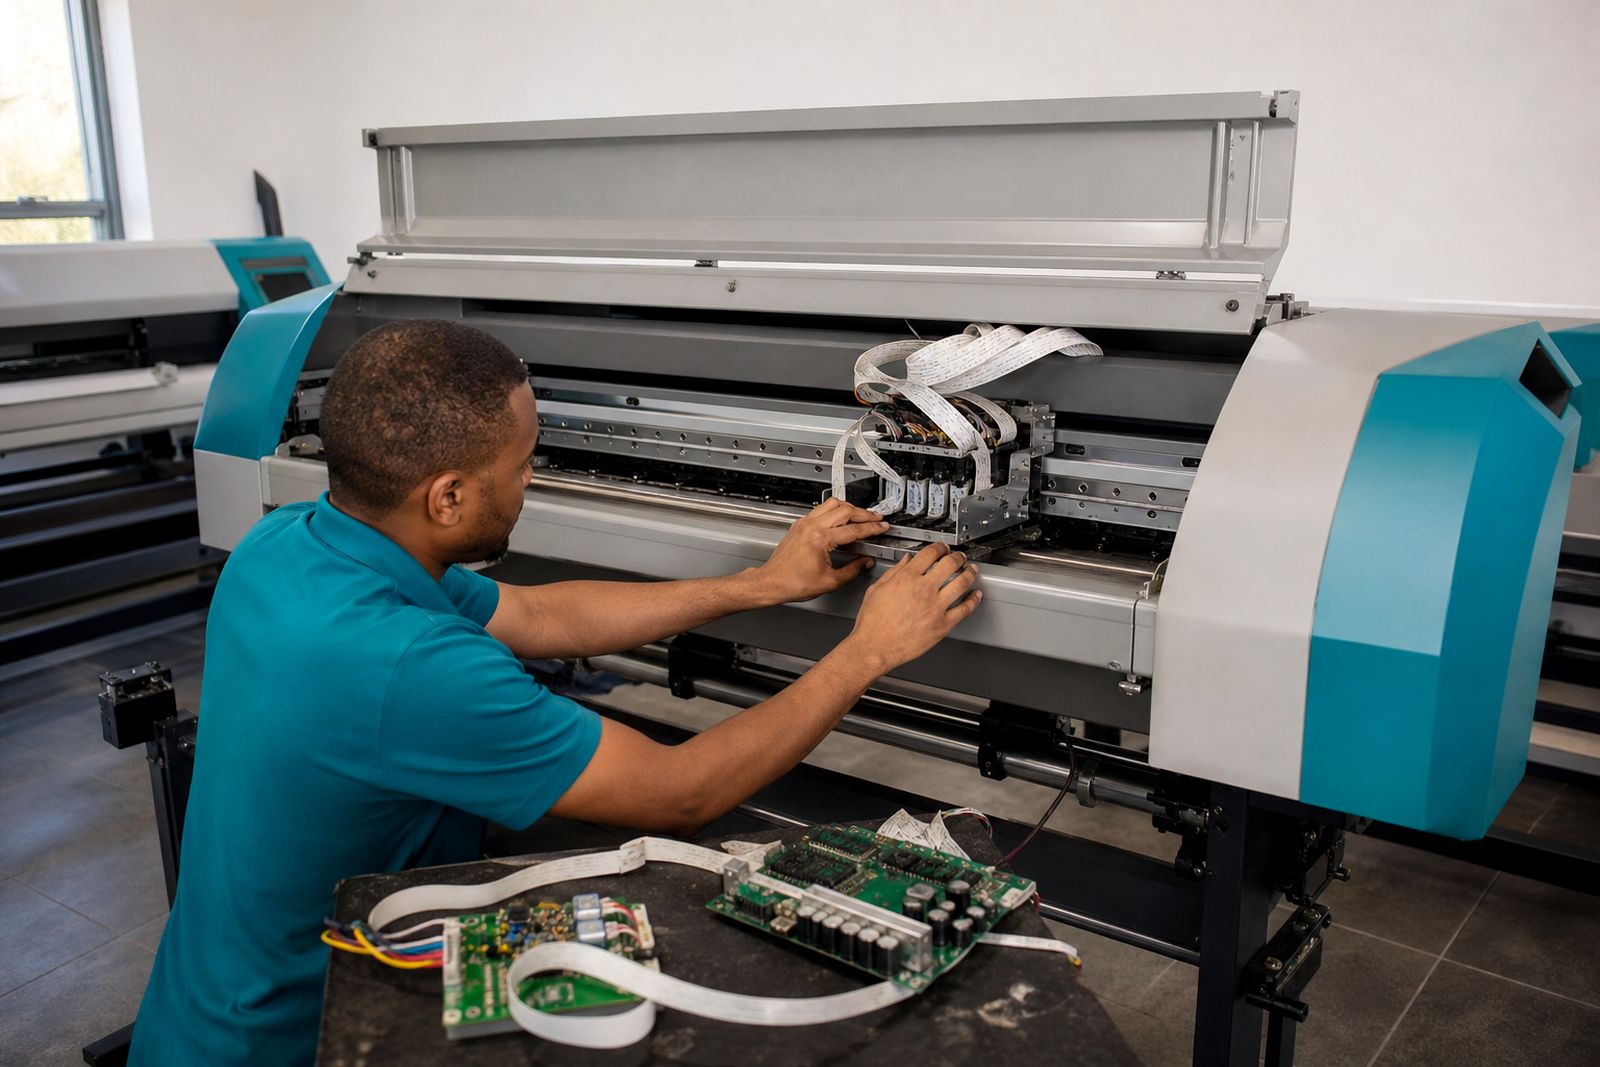
In a Randburg workshop, an integrator brought in a wide-format chassis that had been standing after repeated output faults. The aim was to convert the machine for local signage work rather than retire it. The carriage rail and frame were still usable, but the original fluid path was inconsistent, the parking station had hardened off, and the electronics driving the head were no longer giving stable behaviour across long runs.
The rebuild plan was kept practical. The builder retained the sound mechanical base, replaced the failing printhead section with a suitable assembly, updated the board arrangement, and fitted fresh capping and damper parts. Before the machine left the bench, the technician worked through alignment, cleaning pressure and nozzle checks so that the operator would not inherit a stack of unresolved issues.
The useful lesson from that job was not about one miracle part. It was about removing weak links together. When the service station, head fitment and control path were brought into line, the machine settled down and started behaving like a production tool instead of a project that needed constant coaxing. That sequence is very common, even if the details differ from one build to the next.
Bench habits that protect the head during a build
Printheads are easily damaged by poor handling long before the first print lands on media. During assembly or retrofit work, storage conditions, static control, flushing method and the time the head spends exposed all matter. In Gauteng workshops, dry air and dusty benches can add small problems that become expensive faults later, while coastal humidity can affect how some service materials and open ink lines behave.
Good build habits are not glamorous but they save money. Keep the head sealed until the system is ready, use the correct flushing approach for the ink family, and avoid repeated manual interventions that scrape or flood the nozzle face. If the machine will stand before commissioning, park and protect the head properly rather than assuming it will be fine for a few days.
- Prepare the carriage, tubing and maintenance station before opening the head package.
- Use clean consumables and avoid fibres near the nozzle plate.
- Prime carefully so the head is not forced to compensate for an air problem.
- Record alignment and cleaning settings during commissioning for later service work.
When to ask for matching help before you buy parts
Builders usually know the mechanical side of a machine very well, but head matching can still be tricky where an older platform is being converted, a different ink set is planned or the control electronics have changed. That is the point where it helps to compare the intended application, printer layout and service arrangement before parts are chosen. A quick assumption on compatibility can leave you with a head that is technically mountable but awkward to maintain or unreliable under local production conditions.
We work with integrators and rebuild teams that need replacement printheads, head boards, capping parts and complete inkjet engine assemblies for wide-format systems. The discussion normally covers the printer type, ink family, carriage arrangement and the maintenance hardware around the head, then fitting and nozzle-health support follows once the machine is on the bench. If you need input for a rebuild or custom assembly, send the project details through our contact form.
What our Printhead customers say
Verified Google reviews
Questions we get asked
Do you supply complete printers for builders?
No. We focus on replacement printheads, head boards, service parts and complete inkjet print engine assemblies for wide-format systems rather than complete printers.
Can you help match a printhead to a rebuild that uses a different ink type?
Yes. We look at the intended ink family, the printer layout, the electronics and the maintenance arrangement so the head choice suits the rebuild rather than only the mounting points.
Do you assist with fitting and nozzle checks after parts are supplied?
Yes. We can help with head fitting, alignment, flushing guidance and nozzle-health support as part of a rebuild or replacement job.
Also worth a look
Tell us about the job
Send sizes, materials and where you are through our contact form, and we will come back with the practical options.
Open the contact form